The most common advice on how to flush an AC system gets the order backwards. People focus on pushing solvent through metal and hoses, then call the job done when the lines look clear. In reliability work, that's not the finish line, because the failure mode is usually residual solvent, trapped moisture, and a circuit that was put back into service before it was completely dry.
That's why AC flushing belongs in the contamination-control category, not the cleaning category. A proper flush is about removing debris, protecting the compressor, expansion device, and receiver-drier or accumulator, then proving the system can hold vacuum before recharge. If those acceptance gates are weak, the new repair can fail faster than the original fault.
Table of Contents
- Why Most AC Flushes Fail Before They Start
- Diagnostic Sequence and System Preparation
- Components You Must Never Flush
- Reverse-Flow Flushing and Nitrogen Purge Procedure
- Dehydration Verification and Vacuum Hold Testing
- Oil Replacement and Commissioning Checks
- Integrating AC Flushing Into Your Reliability Program
Why Most AC Flushes Fail Before They Start
Flushing is contamination control, not a cleaning shortcut
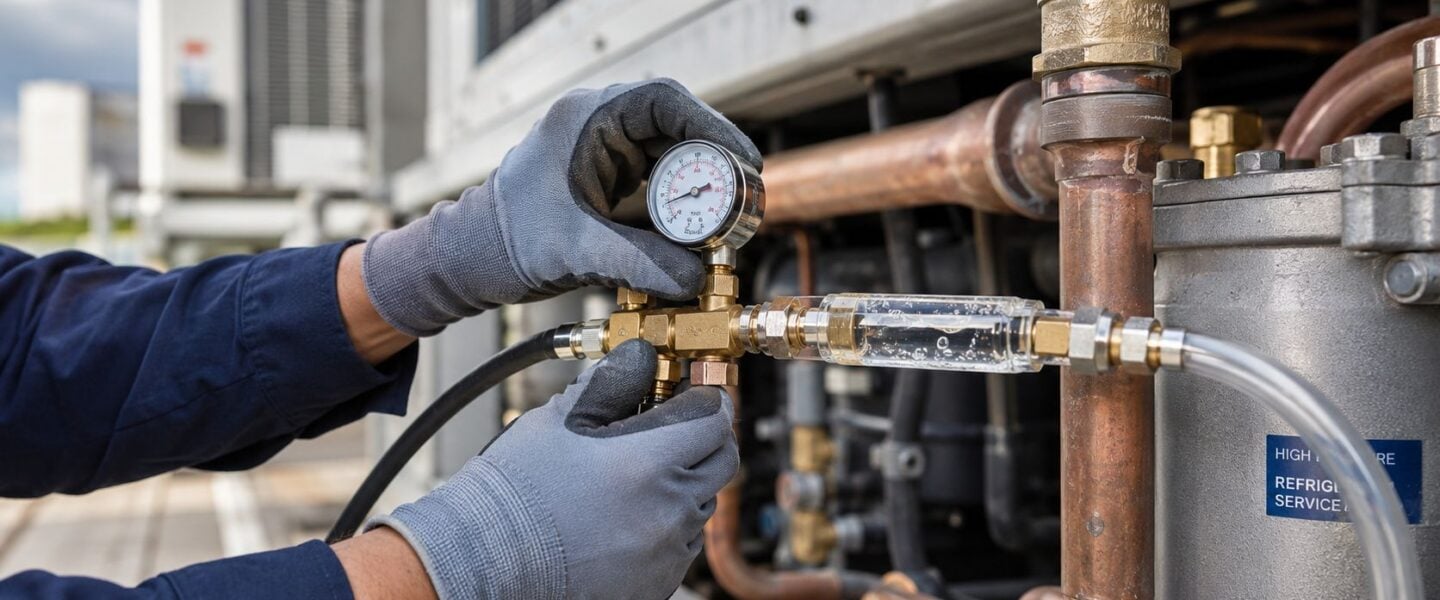
A flush that leaves solvent behind sets up repeat failure. Service procedures treat AC flushing as a controlled contamination-control step, not a quick rinse, because the circuit has to be cleaned against the normal refrigerant flow and then dried thoroughly with dry air or nitrogen before it can be trusted again. One professional flush kit specifies a 40 psi purge pressure with a 10-minute soak, followed by 80 psi purge for 30 uninterrupted minutes (4S AC flush kit PDF).
“Looks clean” doesn't tell maintenance whether the system is reliability-ready. Flush solvent and moisture left in the circuit can damage the compressor, expansion device, and receiver-drier, which is why those parts are typically removed or replaced instead of flushed. In a light-truck HVAC repair, the failed compressor is rarely the only part exposed. The contamination path usually reaches the rest of the circuit.
Practical rule: If a flush did not include removal of sacrificial components, controlled purge, and a vacuum hold check, it was not a reliability-grade repair.
The hidden failure mode is moisture
Moisture is the part many technicians underestimate. Service guidance repeatedly says the circuit must be dried after flushing, because residual solvent can be harmful and trapped moisture can contaminate oil, reduce lubrication quality, and shorten compressor life (NAPA AC flush guidance). The right sequence is recover refrigerant, flush, purge, evacuate, and only then recharge, with moisture control sitting at the center of the process. For a broader maintenance context, see Forge Reliability's HVAC maintenance guidance, which treats contamination control and recovery discipline as part of system reliability, not an afterthought.
That is the operational lesson for plant teams. A system can appear clean and still be unreliable in practice. If the drying cycle is rushed, the new oil charge gets diluted, and the next compressor failure gets blamed on the compressor instead of the process that put it back into service too early. For technicians who also need to troubleshoot a dead unit before deciding on recovery or flush, a practical companion reference is how to fix a non-running AC.
Diagnostic Sequence and System Preparation
Confirm contamination before solvent goes in
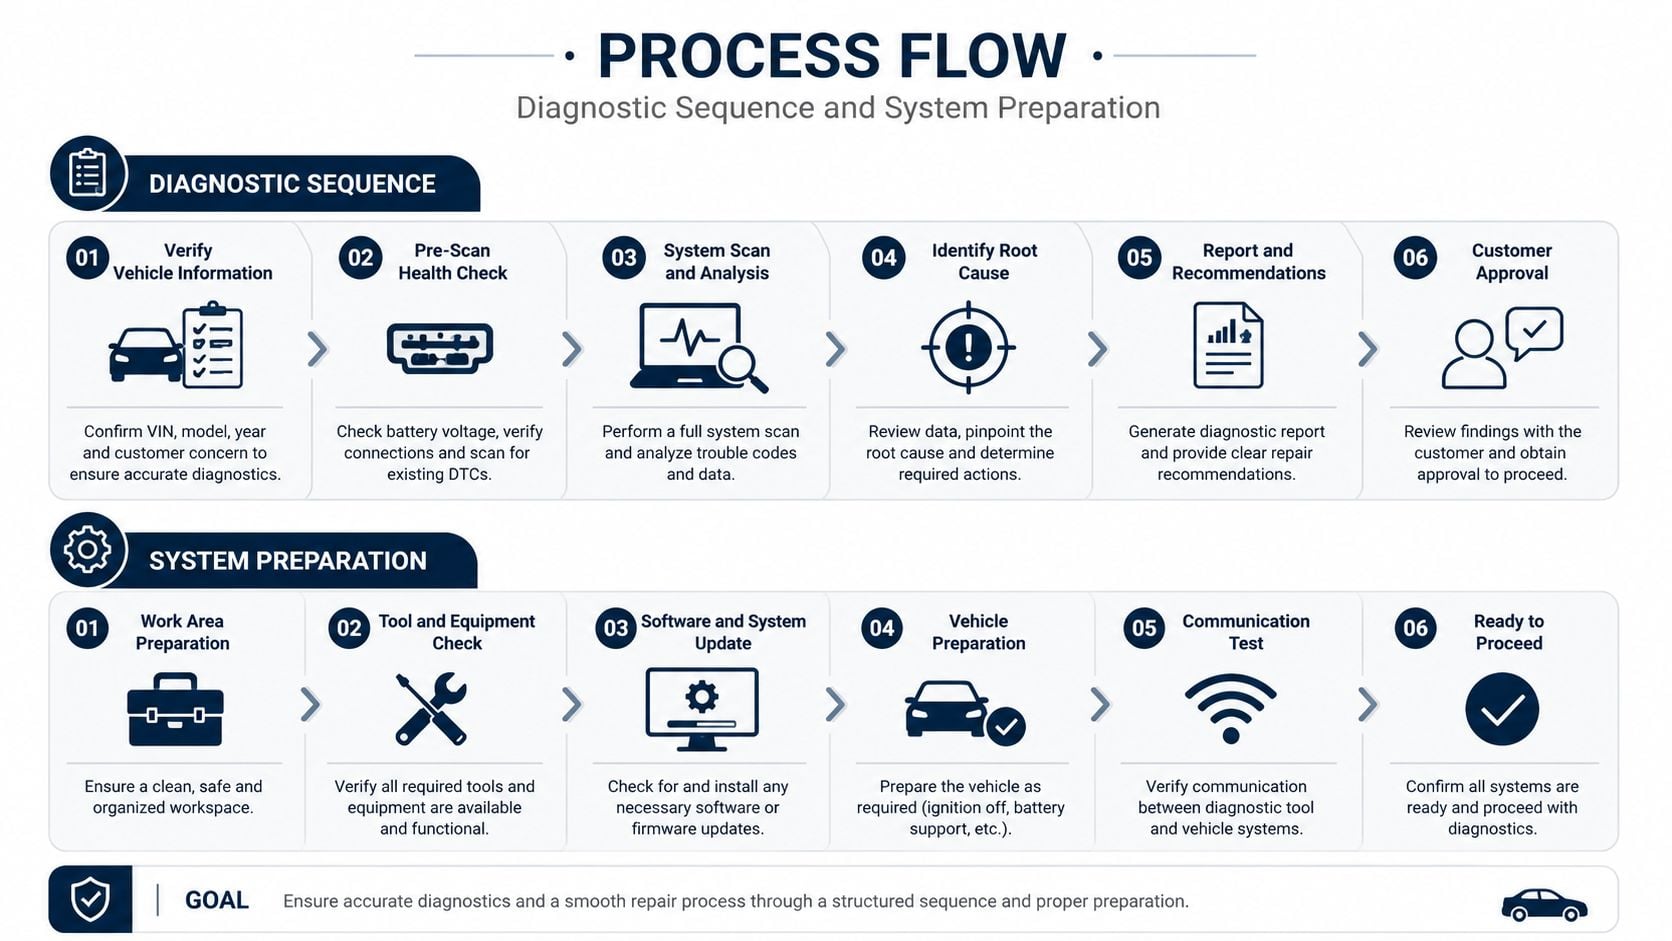
A disciplined AC flush starts with diagnosis, not disassembly. Industry guidance calls for a gas analyzer to test refrigerant for contaminants, then refrigerant recovery equipment to remove the charge before any flushing begins (JB Tools AC flush workflow). This sequence distinguishes a dirty system from one with a leak, a restriction, or mechanical damage inside the compressor.
In a fleet repair bay, that distinction saves labor. If the gas analysis points to contamination, the circuit can move into recovery, flush, and drying. If the compressor is mechanically damaged, the flush becomes part of a larger component replacement plan, not a stand-alone fix. For technicians who also need to troubleshoot a dead unit before deciding on recovery or flush, a practical companion reference is how to fix a non-running AC.
Set the system up for a clean path
Preparation is straightforward. Recover refrigerant first. Remove the compressor. Bypass or replace the receiver-drier or accumulator and the expansion device. Then flush the lines and heat exchangers in reverse direction so debris is lifted out instead of driven deeper into the circuit, as described in the Buy Auto Parts AC flush guide. Reverse flow matters on condensers and evaporators because the objective is to remove contamination, not push it into tighter passages.
A maintenance record should also capture what the teardown revealed before the flush. Note dark oil, metal at the fittings, a seized compressor, or a unit that lost charge. Those observations help reliability teams separate a contamination event from a chronic mechanical problem. That documentation fits the same discipline used in equipment maintenance for HVAC systems, where contamination control and recovery steps are part of reliability work, not paperwork.
The practical payoff is fewer repeat callouts. If the circuit is only partially disassembled, the flush can move debris into a component that was already marginal. That is not maintenance, it is contamination migration.
Components You Must Never Flush
Some parts should be replaced, not cleaned
A flush starts with an exclusion list, because some components fail by design once contamination is inside them. The compressor, condenser, orifice tube or expansion valve, any line with a muffler, and the receiver-drier or accumulator should stay out of the flush path, as shown in the technical AC flush video. This is a failure-mode decision.
The compressor is the clearest example. Once it has shed debris internally, solvent will not restore bearing surfaces, reed valves, or oil passages. In a contaminated light-truck HVAC system, the compressor is a replacement item because flushing an internally damaged unit only sends the same debris back through the circuit. The receiver-drier and accumulator deserve the same treatment. They are moisture-control components, which means they get replaced once contamination is present, especially if you need to fix an AC refrigerant leak before recharging the system.
A flushed drier that has been exposed to solvent and moisture is not a fresh part. It is a weak point waiting to reintroduce contamination.
Small passages and trapped debris change the decision
Expansion valves and orifice tubes have small passages and screens that catch debris. Even if a flush removes some residue, those parts can still hold contamination that comes back under load. Lines with mufflers create a different problem. Their internal geometry can trap debris where solvent flow will not reliably reach it.
The part decision has to come before the cleaning decision. On a failed automotive compressor, the technician does not try to save every piece of hardware. The drier or accumulator gets replaced, the metering device gets replaced, and the compressor gets swapped out if it failed internally. If a plant team treats those components as reusable, repeat downtime is almost guaranteed.
For a closer look at compressor-driven failure modes, compressor troubleshooting keeps the analysis centered on the damage the unit has already done to itself. It is the right reliability lens when the circuit has been contaminated, because the primary problem is not just debris, it is residual solvent, oil breakdown, and moisture left behind after the flush.
Reverse-Flow Flushing and Nitrogen Purge Procedure
Use pressure and time, not guesswork
A real flush starts as contamination control, then becomes dehydration. The goal is to drive out solvent, loosened residue, and moisture before they can settle back into low spots, coat fresh oil, or seed another compressor failure. If the circuit still holds contamination after the purge, the cleaning step has already failed.
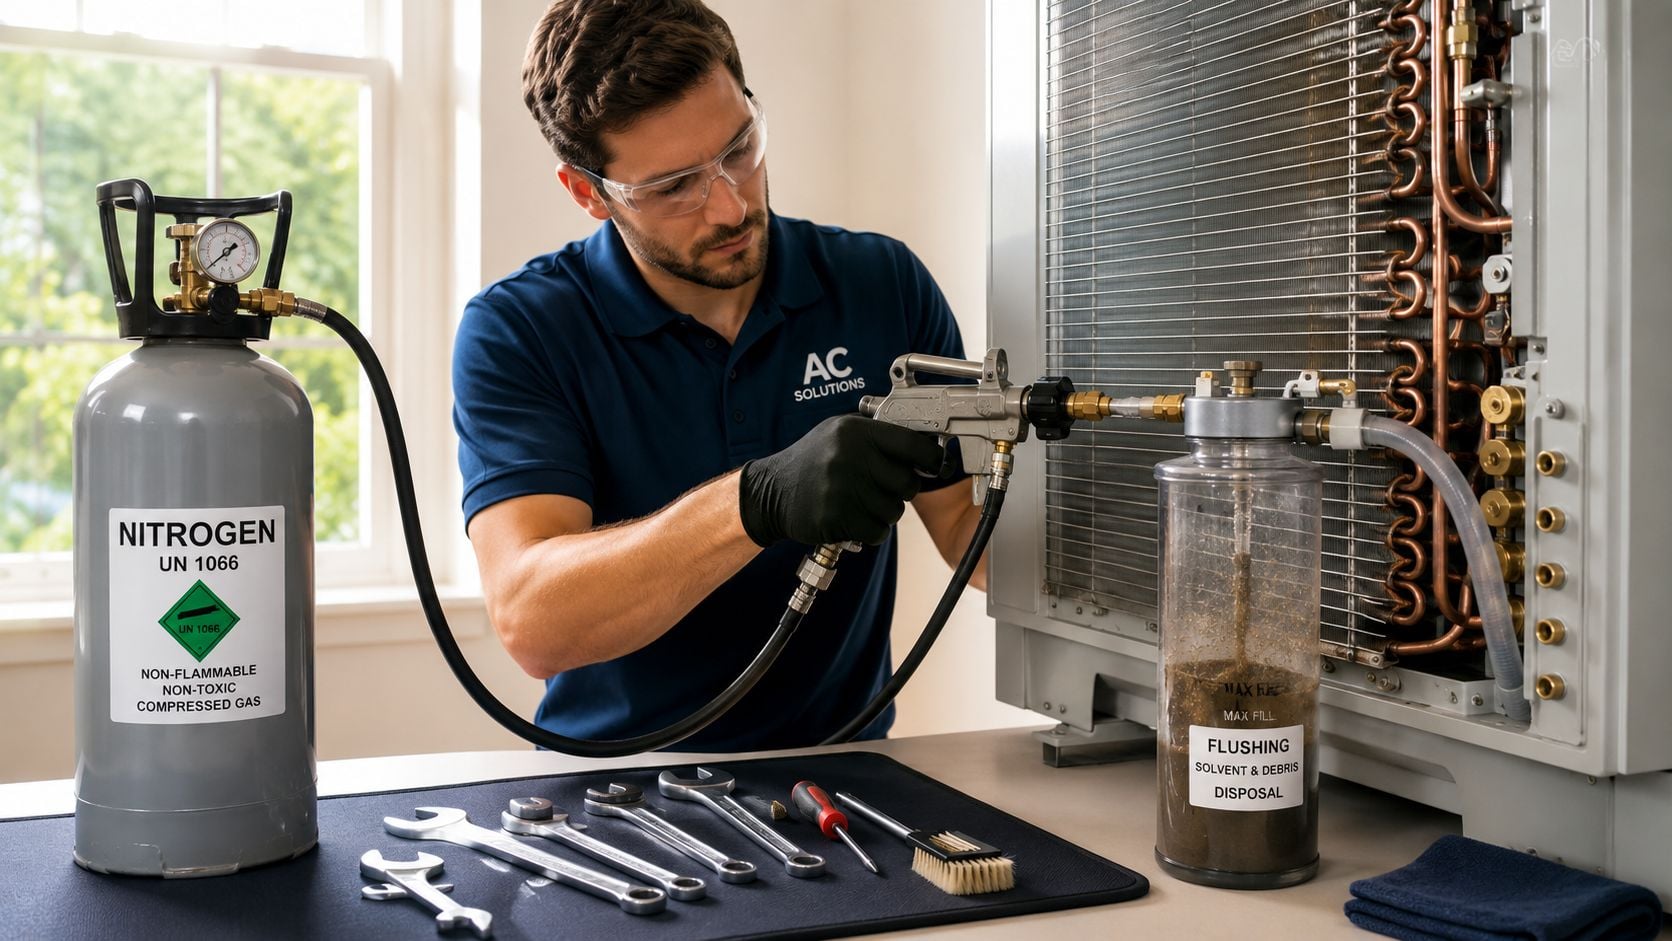
The core procedure is a controlled reverse-flow flush. Service guidance calls for purge pressure set to 40 psi, a 10-minute soak, then a purge at 80 psi for 30 minutes without interruption. Another guide specifies nitrogen purge pressure between 5.0 and 7.0 bar, about 72 to 102 psi, and recommends hand-turning the compressor clutch at least 10 times after recharging. Those numbers matter because they keep the solvent moving through the circuit without blasting debris into places that cannot be recovered later.
Many fast jobs go wrong at this point. The pressure must push solvent and loose debris out of the evaporator and condenser against normal refrigerant flow, but it cannot be so aggressive that it drives contamination into a removed component or leaves liquid solvent trapped in a dead leg. In practice, the purge stage is a timed drying operation disguised as a flushing step.
Keep the circuit open only where it helps
A professional setup isolates what is being flushed and what is already out of the circuit. The condenser, evaporator, and lines are routed so solvent exits into a catch container, then the system gets a prolonged purge with dry compressed air or nitrogen. One manual also calls for leaving the component open to air for at least 1 hour after nitrogen purging, which shows how strongly service literature treats dehydration as part of the cleaning workflow. For plant systems, the same logic applies to chillers and cooling systems maintenance, because the procedure is really about keeping moisture from surviving the cleanup.
The repair still has to address the source of the contamination. If a leak introduced air and moisture into the circuit, the leak has to be corrected before recharge, or the flush only creates a cleaner failure path. A good reference for that part of the job is fix an AC refrigerant leak, because a circuit that is still losing charge will not stay dry or stable after service.
Dehydration Verification and Vacuum Hold Testing
Dryness is the acceptance criterion that matters
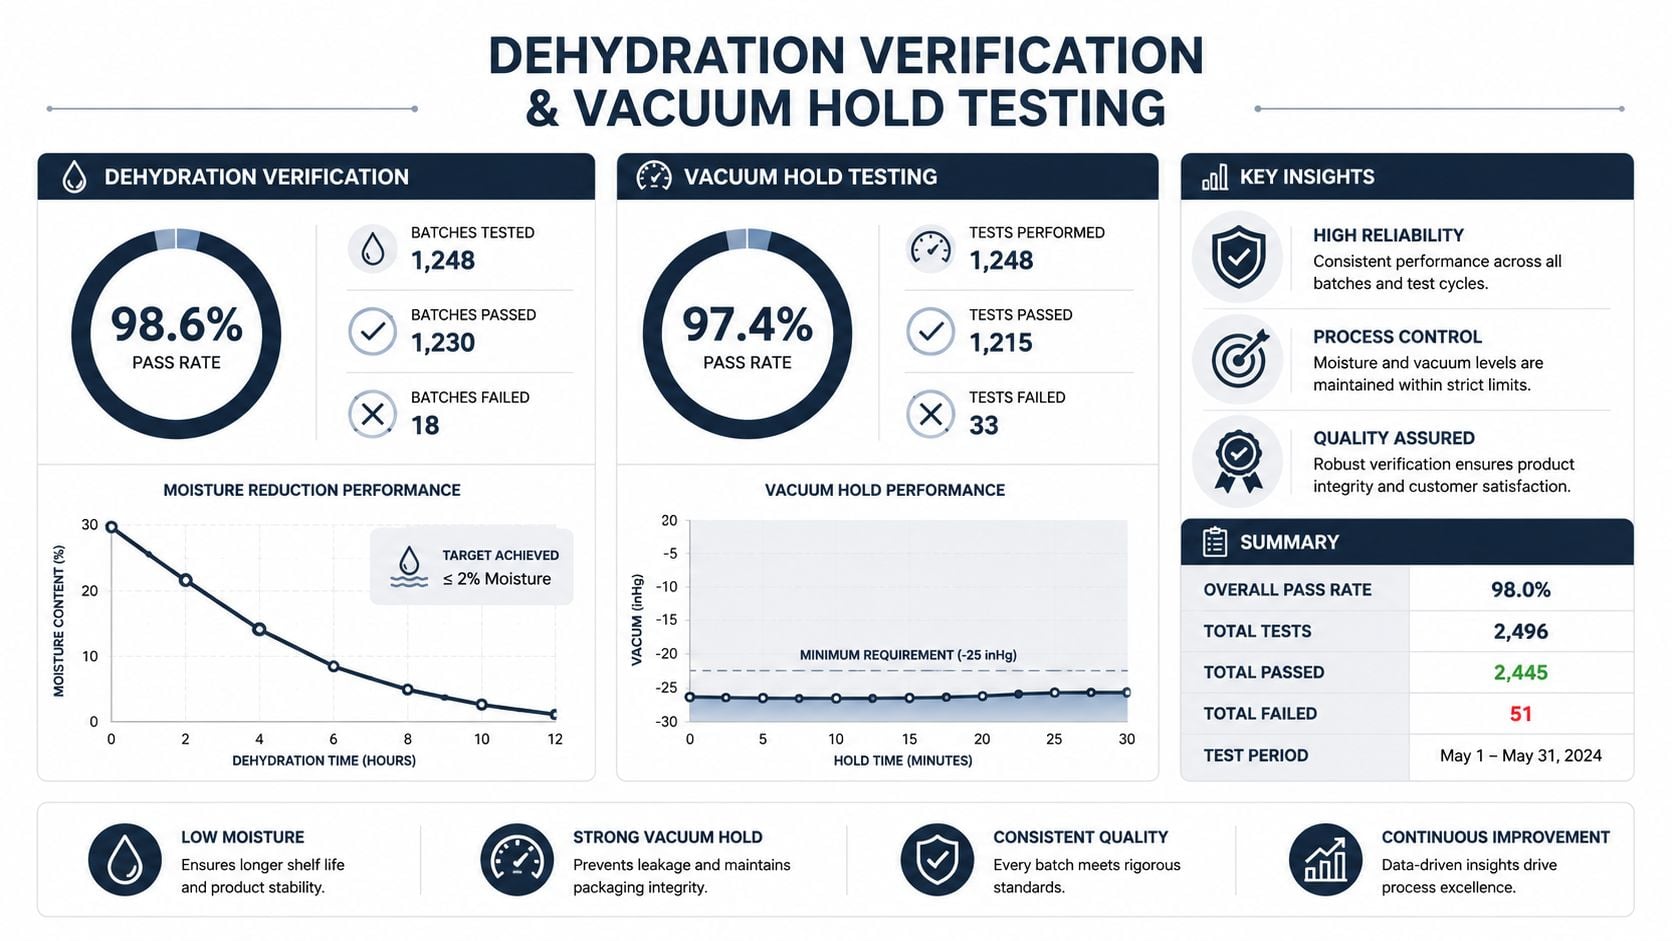
The question after flushing is not whether the line looks bright. It is whether the circuit is dry enough to accept oil and refrigerant without creating a new failure mode. Service guidance commonly calls for a prolonged dry-out after solvent removal, and some procedures specify a 30-minute air or nitrogen purge after the solvent is expelled. Others are even more conservative, adding 10 to 15 minutes of compressed-air drying plus another 30 minutes before reassembly.
Residual solvent and moisture do not sit harmlessly in the background. They dilute oil, reduce lubrication quality, and can trigger corrosion and acid formation inside the circuit. Once that happens, the compressor failure that follows looks like a part failure, even though the root problem was incomplete dehydration.
Vacuum hold tells the truth
A meaningful flush job includes evacuation and a vacuum hold check. Published installation guidance calls for at least a 30-minute evacuation before recharge, and the background material also stresses extended vacuuming after flushing. That evacuation step is the field test that proves the circuit can hold vacuum and is not still hiding moisture, a leak, or a restriction.
If the vacuum will not hold, the flush did not finish the job. The system is still telling the truth, even if the components look clean.
For maintenance leaders, the decision rule is straightforward. If the circuit fails vacuum hold, stop and find the reason before charging. Do not treat recharge as a diagnostic tool, because once refrigerant goes in, any hidden moisture or contamination becomes harder to isolate. Teams that also manage consumables and cleaning choices for HVAC can use find the best coil cleaning product as a supporting reference, but coil appearance still is not a substitute for vacuum integrity.
After the evacuation check, the next control point is oil condition. If the circuit had debris, solvent exposure, or a long open-air interval, the oil sample tells you whether the cleanup held. A practical review of oil sampling analysis helps turn that check into a repeatable maintenance step instead of a guess.
Oil Replacement and Commissioning Checks
Refill the circuit like a reliability asset, not a parts change
Once the circuit passes vacuum hold testing, oil management becomes the next control point. The replacement oil has to match the refrigerant and the system design, because the goal is stable lubrication across the compressor and the rest of the circuit. A contaminated system often needs oil attention more than a clean system does, because residual contamination can distort how the new charge circulates.
That's where commissioning discipline pays off. After the recharge, the system should run under load long enough to verify that it cools normally and that the expansion device is metering properly. If cooling is weak or the pressures behave oddly, the flush may have exposed a restriction or a leak that wasn't visible during teardown.
Verify the repair with a functional test
A post-recharge check should confirm more than “the compressor turns.” It should verify that the system cools, that airflow feels consistent across the evaporator load, and that no new restriction survived the flush. That's especially important in systems that failed after compressor debris entered the circuit, because the condenser, line set, or metering device may still have hidden contamination even after a thorough flush.
This is also the best point to integrate condition monitoring. The oil sample taken after break-in becomes a baseline for the asset, not just a one-time repair artifact. For teams building that discipline into a broader maintenance program, oil sampling and analysis is the natural next step.
A flush job isn't finished when the refrigerant is back in. It's finished when the system proves stable under load and the oil condition supports continued service.
That mindset matters in plant equipment, rooftop units, and mobile refrigeration alike. Commissioning closes the loop, and it prevents a repair from being mistaken for a root-cause fix.
Integrating AC Flushing Into Your Reliability Program
Standardize the decision, not just the repair
A flush event belongs in the CMMS with the contamination type, solvent used, purge duration, vacuum hold result, and the parts that were replaced. That record lets maintenance leaders see whether a recurring failure is tied to debris, moisture ingress, a chronic leak, or a deeper compressor issue. Without that detail, every future repair starts from zero.
Triggers should also be defined in advance. If oil analysis points to contamination, if moisture is suspected, or if a compressor failure has spread debris through the circuit, the flush protocol should activate automatically. That's the same logic used in other reliability decisions, criticality ranking first, then intervention.
Use a plant example, not a one-off judgment call
In industrial refrigeration, especially food processing, a documented flush protocol can prevent a bad season from becoming a cascade of compressor failures. When technicians follow the same steps on every contaminated circuit, the plant can separate equipment damage from process error. That matters when multiple cooling assets support production and downtime tolerance is low.
Facilities with many HVAC and refrigeration circuits benefit most from this standardization. The more assets a plant owns, the less room there is for technician-by-technician interpretation. A repeatable flush record makes trend review possible, and it gives reliability teams something better than memory when the next compressor starts to run hot.
For industrial sites that want a broader strategy around refrigeration assets, industrial refrigeration reliability is where the conversation should continue. A structured assessment can identify where contamination control, moisture management, and oil monitoring will stop repeat downtime before it starts.
A CTA for Forge Reliability. For teams dealing with recurring AC or refrigeration downtime, request a free reliability assessment and have plant-floor specialists review your flush records, contamination history, and vacuum hold results so the next repair stops being a repeat failure.